Crispy Mongolian Beef Recipe
Introduction
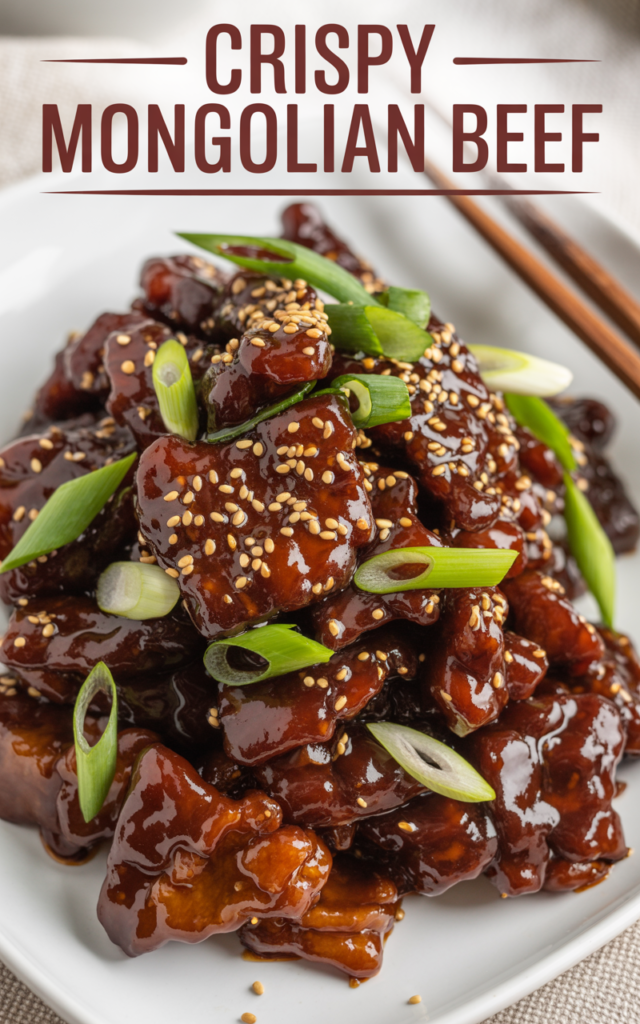
If you crave irresistible takeout flavor with minimal fuss, this Crispy Mongolian Beef recipe brings restaurant-quality results right to your kitchen. Known for its perfect balance of crispy, caramelized beef and savory-sweet sauce, this dish quickly earns rave reviews for its crowd-pleasing appeal and weeknight simplicity.
Why This Crispy Mongolian Beef Recipe Is a Must-Try
This Mongolian beef stands out thanks to its shatteringly crisp exterior and glossy, garlicky brown sugar glaze. With just a handful of pantry staples and fresh vegetables, you can whip up a dish that’s delicious with rice, noodles, or alongside stir-fried greens. Plus, making it at home allows you to control the ingredients and customization, from spice level to protein choice.
Key Steps for Ultimate Crispiness
Achieving that signature crunch is all about technique: thin-slicing the beef, a quick cornstarch dredge, and hot, quick frying. Using a dedicated nonstick frying pan like the SENSARTE Nonstick Frying Pan Skillet, 9.5 Inch ensures even browning while preventing sticking, letting every strip get perfectly crispy with less oil.
Prepping Your Vegetables and Ingredients
Efficient prep is the secret weapon of outstanding stir-fry. For perfectly uniform scallions and optional bell pepper or carrot matchsticks, a time-saving gadget like the Mueller Pro-Series 10-in-1, 8 Blade Vegetable Chopper ensures consistency in texture and fast, safe chopping. This not only makes your dish look professional—it also guarantees every bite cooks evenly.
Making the Sweet-Savory Sauce
The Mongolian beef sauce is a blend of soy, brown sugar, garlic, and ginger that thickens into a glossy, sticky glaze as it cooks. For the silkiest finish, whisk your sauce in a mixing bowl or pulse the ginger and garlic in a Ninja BL610 Professional 72 Oz Countertop Blender for extra-smooth results.
How to Serve and Store Crispy Mongolian Beef
Pair your beef with steamed white rice, quickly sautéed broccoli, or stuff it into lettuce wraps for a lighter option. Meal prepping? Portion leftovers into Rubbermaid Brilliance Food Storage Containers, Set of 5 (3.2 Cup) for easy grab-and-go lunches or dinners. The beef stays deliciously crisp even after reheating!
Nutritional Information & Serving Size
This recipe yields about 4 servings. Each serving is approximately 400–450 calories, depending on oil used and extra vegetables. Bell peppers or carrots add vitamins, while lean flank steak keeps the dish hearty but not heavy.
Ingredients
Instructions
- Pat the flank steak dry and thinly slice against the grain. Use the Mueller Pro-Series 10-in-1, 8 Blade Vegetable Chopper for easy, even slices of scallions, bell pepper, or carrot if using.
- Toss beef slices with cornstarch in a large bowl, ensuring beef is evenly coated. Shake off excess and set aside for 10 minutes; this helps form the crispy crust.
- While beef sits, mix soy sauce, brown sugar, water, garlic, and ginger in a small bowl. (For extra smoothness, blend garlic and ginger quickly in the Ninja BL610 Professional 72 Oz Countertop Blender.)
- Heat 2–3 tablespoons of oil in the SENSARTE Nonstick Frying Pan Skillet, 9.5 Inch over medium-high. Fry beef in batches, spreading strips flat but not overcrowding. Cook 2–3 minutes per side until deeply browned and crispy. Set cooked beef aside on a plate.
- Drain off excess oil, leaving 1 tablespoon in the pan. Add sliced scallions (and vegetables, if using) and stir-fry for about 1 minute, just until fragrant.
- Pour in the prepared sauce, stirring constantly until it boils and thickens, about 2 minutes.
- Return beef to the pan, tossing quickly to coat in sauce. Stir until heated through and glossy, about 1 minute more.
- Serve hot over steamed rice, garnished with extra scallions and sesame seeds. Refrigerate leftovers in Rubbermaid Brilliance Food Storage Containers, Set of 5 (3.2 Cup) for up to 3 days.
Cook and Prep Times
Prep Time: 20 minutes
Cook Time: 15 minutes
Total Time: 35 minutes
Recap
This Crispy Mongolian Beef recipe brings irresistible flavor and crunch to your dinner table in less than 40 minutes. Savory, sticky, and just a little bit sweet, it’s loved by picky eaters and adventure-seeking foodies alike. With a few smart kitchen tools, you’ll achieve restaurant-caliber results—right at home.